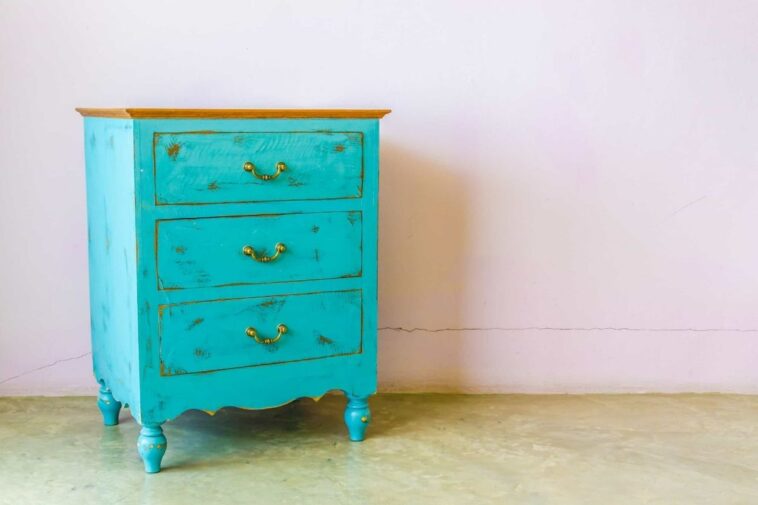
Refinishing an old dresser can breathe new life into a piece of furniture that holds sentimental value or simply fits perfectly in your space. Whether it’s an heirloom passed down through generations or a thrift store find, giving an old dresser a makeover is both rewarding and cost-effective. But where do you start?
The process might seem overwhelming at first, especially if you’ve never worked on a DIY furniture project before. The good news is that refinishing a dresser is easier than you think, especially when broken down into clear, manageable steps. Plus, it’s a wonderful way to personalize your furniture and match it to your home’s aesthetic.
In this guide, we’ll walk you through the four essential steps to refinish an old dresser: preparation, stripping, sanding, and finishing. Whether you want to highlight its natural wood grain or transform it with a bold color, this step-by-step tutorial will help you achieve professional-looking results.
Step 1: Preparing the Dresser for Refinishing
Before you dive into the creative process, preparation is key. Proper preparation ensures that the refinishing process is smooth and that the final result looks flawless.
Remove Hardware and Clean the Surface
Start by removing all the dresser’s hardware, such as knobs, handles, or decorative accents. Place them in a labeled container so you don’t lose any pieces. If you’re planning to reuse the hardware, cleaning it with warm, soapy water or a metal cleaner will restore its shine. For a completely new look, consider replacing the hardware with modern or vintage pieces.
Next, clean the dresser thoroughly. Use a damp cloth and a gentle detergent to remove dirt, grease, or grime that has built up over time. This step is crucial because any residue left behind can interfere with the stripping and sanding process.
Inspect for Damage
Carefully inspect the dresser for any signs of damage. Look for loose joints, cracks, or missing pieces of veneer. Use wood glue to secure loose parts and fill cracks with wood filler. Allow the repairs to dry completely before moving to the next step. Taking the time to fix these imperfections will ensure a sturdy and polished final product.
Step 2: Stripping the Old Finish
Stripping is the process of removing the old paint, stain, or varnish from the dresser. This step reveals the raw wood beneath, giving you a clean canvas to work with.
Choosing the Right Stripper
You can choose between chemical paint strippers or natural, eco-friendly options. Chemical strippers are fast-acting and effective but may require good ventilation and protective gloves. Natural strippers are less harsh but might take a bit longer. Decide based on your comfort level and the product’s availability.
Applying the Stripper
Follow the instructions on the product carefully. Typically, you’ll need to apply the stripper evenly across the surface using a brush or cloth. Let it sit for the recommended time, allowing it to soften the old finish. Then, use a scraper or steel wool to remove the loosened layers. Be gentle to avoid scratching the wood.
Clean Up After Stripping
Once you’ve stripped the finish, wipe the surface with a clean cloth dampened with mineral spirits or water, depending on the stripper you used. This helps remove any leftover residue, ensuring the dresser is ready for sanding.
Step 3: Sanding the Dresser
Sanding is where your dresser begins to transform. This step smooths the surface and prepares it for a fresh coat of paint or stain.
Start with Coarse Sandpaper
Begin sanding with coarse-grit sandpaper (around 80-grit) to remove any stubborn finish or uneven spots. Work in the direction of the wood grain to prevent scratches. Use a sanding block or an electric sander for larger surfaces, and sand by hand for smaller or intricate areas.
Move to Finer Grits
Once the surface is smooth, switch to medium-grit sandpaper (120-grit) and then to fine-grit sandpaper (220-grit). This progressive approach ensures the wood is perfectly smooth and ready for finishing. Don’t forget to sand the edges and corners to maintain consistency.
Clean the Dust
After sanding, wipe the entire piece with a tack cloth or a slightly damp cloth to remove all the dust. Dust particles can interfere with the finish, so take your time to clean every nook and cranny.
Step 4: Applying the New Finish
This is the exciting part where your dresser takes on its new look. The finish you choose will depend on the style you’re going for, whether it’s a natural wood look or a painted design.
Choose Your Finish
For a classic, timeless look, consider a wood stain. Stains highlight the natural grain and come in various shades, from light oak to rich walnut. If you prefer something colorful or contemporary, opt for furniture paint. Chalk paint is particularly popular for its matte, vintage-style finish.
Apply the Finish
When staining, use a brush or rag to apply the product in even strokes, following the grain of the wood. Allow it to penetrate for a few minutes, then wipe off the excess with a clean cloth. If painting, use a quality brush or roller and apply thin, even coats. Let each coat dry completely before applying the next.
Seal the Surface
Finally, protect your work with a clear topcoat. For stained finishes, polyurethane or a water-based sealer works well. For painted surfaces, a clear wax or acrylic topcoat will provide durability. Apply the sealer with care, and let it cure fully before using the dresser.
Final Thoughts
Refinishing an old dresser is a satisfying project that can turn an outdated piece into a stunning focal point for your home. With a little time, effort, and creativity, you can achieve results that look professional and last for years.
So, gather your tools, roll up your sleeves, and get started! The transformation will not only save you money but also give you a sense of pride every time you see the finished dresser in your space.


